In this tutorial I’ll be creating a “features” attribute. It will simply be a text area attribute, where the admin can define the products features via an unordered list.
Step 1) Create our module
Using Pestle to create a module and saving some types.
pestle.phar magento2:generate:module Jeff ProductFeatures 0.0.1
Step 2) Create our InstallData class
Our InstallData class handle the creation of our new features attributes:
<?php
namespace Jeff\ProductFeatures\Setup;

use Magento\Framework\Setup\InstallDataInterface;
use Magento\Framework\Setup\ModuleContextInterface;
use Magento\Framework\Setup\ModuleDataSetupInterface;
use Magento\Eav\Setup\EavSetupFactory;
use Magento\Catalog\Model\Product;

class InstallData implements InstallDataInterface
{
    protected $eavSetupFactory;

    public function __construct(EavSetupFactory $eavSetupFactory) {
        $this->eavSetupFactory = $eavSetupFactory;
    }

    public function install(ModuleDataSetupInterface $setup, ModuleContextInterface $context) {
        $setup->startSetup();

        $eavSetup = $this->eavSetupFactory->create(['setup' => $setup]);

        $eavSetup->addAttribute(Product::ENTITY, 'features', [
            'type' => 'text', //inform which EAV table this attribute data will saved to
            'label' => 'Features', //user friendly label that is used within admin
            'input' => 'textarea', //defined the type of input that will be used
            'required' => false, //tell us if the field is required to be entered before the product can be saved.
            'sort_order' => 100, //the order it will be displayed within the admin
            'global' => \Magento\Eav\Model\Entity\Attribute\ScopedAttributeInterface::SCOPE_STORE, //the scope that is allowed for the value to be modified.
            'wysiwyg' => true,
            'is_html_allowed_on_front' => true, // tells the validation engine that HTML is allowed for this attribute
        ]);

        $setup->endSetup();
    }
}
3) Install our module and test the attribute exists!
php bin/magento module:enable Jeff_ProductFeatures
php bin/magento setup:upgrade
Step 4) Define our configuration in extension_attributes.xml and di.xml
#etc/extension_attributes.xml <?xml version="1.0"?> <config xmlns:xsi="http://www.w3.org/2001/XMLSchema-instance" xsi:noNamespaceSchemaLocation="urn:magento:framework:Api/etc/extension_attributes.xsd"> <extension_attributes for=”Magento\Catalog\Api\Data\ProductInterface”> <attribute code="features" type="string" /> </extension_attributes> </config>
Note:
<extension_attributes for=“CLASS”>
This tells Magento 2 which class we are defining an extension attribute for. As we’re doing this for a product, we’ll need to use the Magento\Catalog\Api\Data\ProductInterface interface.
The next line
<attribute code=“” type=“” />
defines our attributes. We give them a name, and a type. The type in this case can reference either a PHP type or a class type.
Next up is our di.xml again, living in etc directory. This is so we can register a plugin to set data to our extension attribute (I’ll cover this more in the next step)
#etc/di.xml

<?xml version="1.0"?>
<config xmlns:xsi="http://www.w3.org/2001/XMLSchema-instance" xsi:noNamespaceSchemaLocation="urn:magento:framework:ObjectManager/etc/config.xsd">
    <type name="Magento\Catalog\Api\ProductRepositoryInterface">
        <plugin name="get_product_features" type="Jeff\ProductFeatures\Plugin\ProductGet"/>
    </type>
</config>
Step 5) Create our plugin
Now, when creating extension_attributes you can implement your own logic. That’s one of the powerful features of extension_attributes. Instead of defining a PHP type you could instead specify a class that implements a bunch of logic. However, the drawback is if you’re implementing something “simple” like an attribute in our case, we still need to do all the hard work.
The way we achieve this is by defining a plugin around the getById method on the ProductRepositoryInterface interface. At this point we can handle fetching data directly from the product model, and set it on the extension attribute class.
<?php
namespace Jeff\ProductFeatures\Plugin;

use Magento\Catalog\Api\Data\ProductInterface;

/*
The way we achieve this is by defining a plugin around the getById method on the ProductRepositoryInterface interface.
*/
class ProductGet {
    protected $productExtensionFactory;
    protected $productFactory;

    public function __construct(
        \Magento\Catalog\Api\Data\ProductExtensionFactory $productExtensionFactory,
        \Magento\Catalog\Model\ProductFactory $productFactory
    ) {
        $this->productFactory = $productFactory;
        $this->productExtensionFactory = $productExtensionFactory;
    }

    public function aroundGetById(\Magento\Catalog\Api\ProductRepositoryInterface $subject, \Closure $proceed, $customerId)
    {
        $product = $proceed($customerId);

        //if extension attribute is already set, return early.
        if($product->getExtensionAttributes() && $product->getExtensionAttributes()->getFeatures()) {
            return $product;
        }

        //In the event that extension attribute class has not be instantiated yet, we create it ourselves.
        if(!$product->getExtensionAttributes()) {
            $productExtension = $this->productExtensionFactory->create();
            $prodcuct->setExtensionAttributes($productExtension);
        }

        //Fetch the raw product model, and set the data onto our attribute.
        $productModel = $this->productFactory->create()->load($product->getId());

        $product->getExtensionAttributes()->setFeatures($productModel->getData('features'));

        return $product;
    }
}
Step 6) Creating a Block and template
product_features.phtml:<?php namespace Jeff\ProductFeatures\Block; use Magento\Catalog\Block\Product\View; class Features extends View { public function getFeatures() { return $this->getProduct()->getExtensionAttributes()->getFeatures(); } public function hasFeatures() { $features = $this->getFeatures(); if(strlen($features) > 0) { return true; } return false; } }
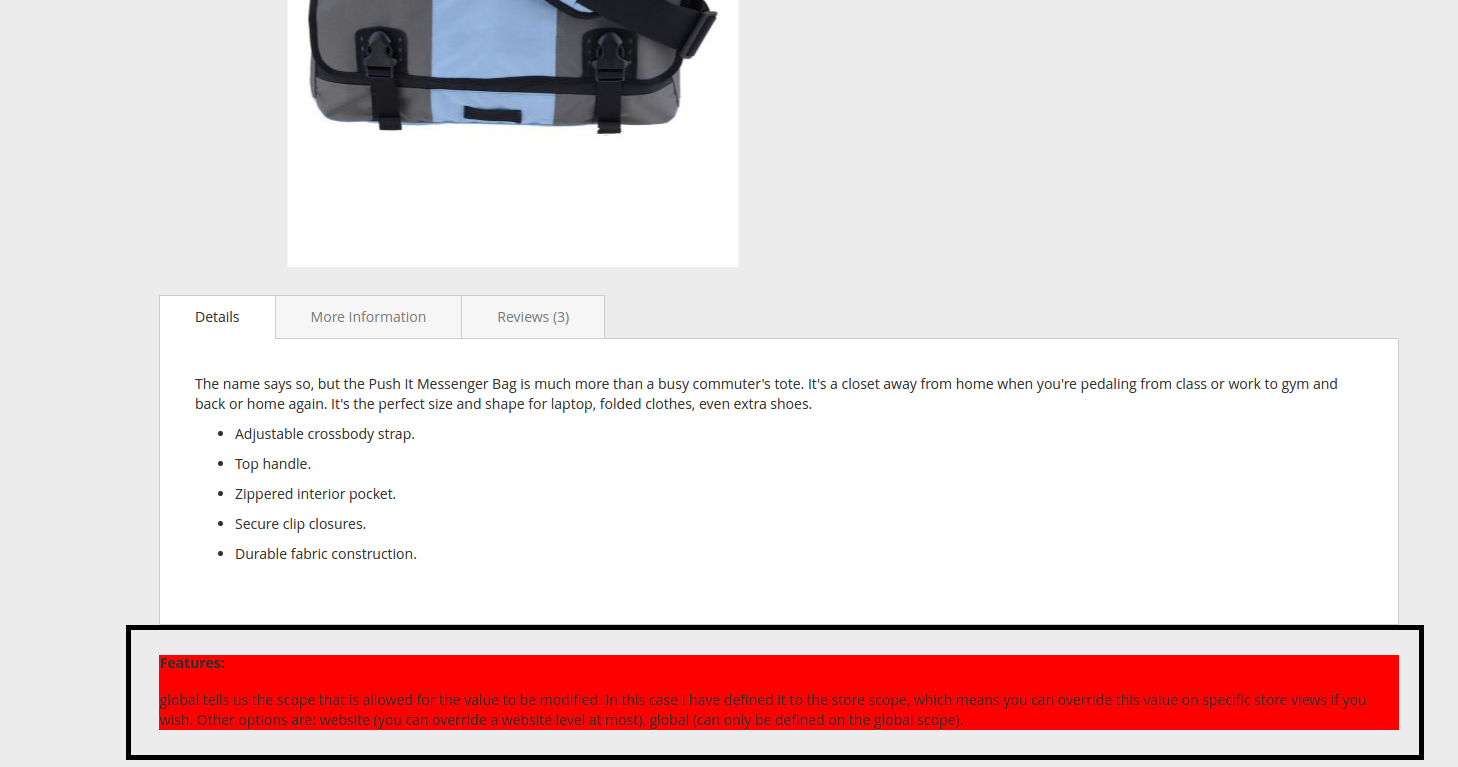
<?php
/** @var $block Jeff\ProductFeatures\Block\Features */
?>
<?php if($this->hasFeatures()): ?>
<div class="product-view-features">
    <h4><?php echo __('Features:') ?></h4>
    <?php echo $block->getFeatures(); ?>
</div>
<?php endif ?>
Layout: catalog_product_view.xml
<?xml version="1.0"?>
<page xmlns:xsi="http://www.w3.org/2001/XMLSchema-instance" xsi:noNamespaceSchemaLocation="urn:magento:framework:View/Layout/etc/page_configuration.xsd">
    <body>
        <referenceContainer name="content">
            <block class="Jeff\ProductFeatures\Block\Features" name="product.info.features" after="product.info.details" template="Jeff_ProductFeatures::product_features.phtml" />
        </referenceContainer>
    </body>
</page>
Step 7 Give it a test dive!